Table of Content
Separate hair into sections to make your DIY balayage ultra-easy. This way, you’ll be able to reach those lower layers and see any spots you’ve missed. A balayage look is easy to maintain and because it’s a gradually lighter shade, growing out roots aren’t an issue.

This makes balayage the ultimate low-maintenance look. Reading the instructions on the kit again to make sure you don’t leave the color on longer than it should be. You can use a brush to spread the color on your strands.
You find the experience relaxing
Leave the back alone, as it will look like an intentional ombré. Now you should have the front left clipped and separated, as well as the front right clipped and separated from each other. These are the things you’ll need for the at-home balayage. You should be able to get them all from your nearest beauty supplier. If you’re considering balayage, here’s everything you need to know, from how to pick the right color to how to care for your new look. The biggest reason is the before and after pictures of going to a salon – versus what I get when I do my hair at home.
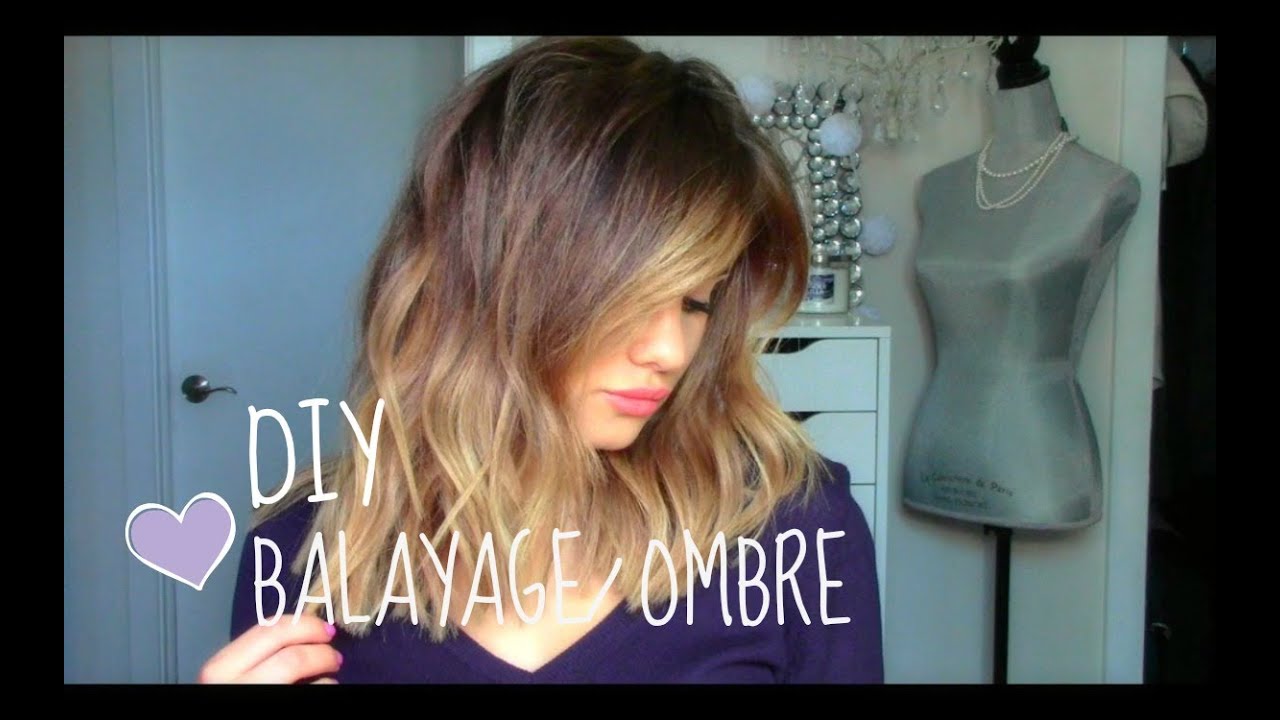
This will be roughly 25 to 45 minutes depending on your natural hair colour and the depth of your desired colour. You should select colors that are two to three shades lighter than your hair’s natural color. The name is also a French word, meaning “shaded” or “shading”. You know it’s ombre if the ends of your hair are of a lighter color than at its roots. Ombre gradually lightens your hair, which culminates in a two-tone color. Of course the simple answer to this is to use the right at-home hair color kit — L’Oréal Paris Superior Preference Balayage At-Home Highlighting Kit.
How to Go from Gray to White Hair
If you are still wondering which color will flatter your skin tone, search “how to balayage hair at home youtube”. Here are the three most basic tones that Layla suggests for you. Apply the hair dye to the comb applicator and gently sweep it through the ends first. Then go back through the mid-lengths towards the tips. This allows you to deposit more dye at the ends with the strokes getting sparser on the way up.
Therefore, if you use the moisture mask, your hair will be healthy and in good condition. After minutes wash out the dye with the provided shampoo in the kit. Note that when you leave the dye on your hair longer, the highlight will be lighter. It is important that you carefully follow the instructions and notes for your color product. This can extremely damage the structure of your hair if used incorrectly!
Leave a Reply Cancel reply
If you have the money to spare (at least $150), go ahead and go to a salon. You may want to go to a salon if any of the following are true. Thanks to all authors for creating a page that has been read 343,100 times. Be extra careful if you have short hair so you don't accidentally cover more of your hair than you'd like.
The point is to get a result that rivals what you get at the salon, so no one would ever know you did your own balayage — unless you tell them. If you’re looking to add some dimension to your hair while also changing up your color, balayage may be the perfect solution! Balayage is a hair coloring technique that can create a natural, sun-kissed look. It involves painting highlights onto the hair without using foils, which allows for a more natural-looking transition of color. Balayage is a French coloring technique that creates a natural-looking and sun-kissed effect for hair. It can match with any hair color, and they also probably work with both short hair and long hair.
Stay within the same general hue as your natural color for a subtle, sun-kissed look. If you have natural hair, gold tones look especially great. Put on plastic gloves to prevent staining your hand with chemicals.
With your middle and index fingers blend the line of contact where the painting bleach first touches your hair strands. And with your painting brush, coat the rest of the section in your other hand all the way down to the ends. Slide your fingers all the way through to get an even, smooth coat. Right up there with bleaching your own hair, a DIY balayage can be a risky endeavor.
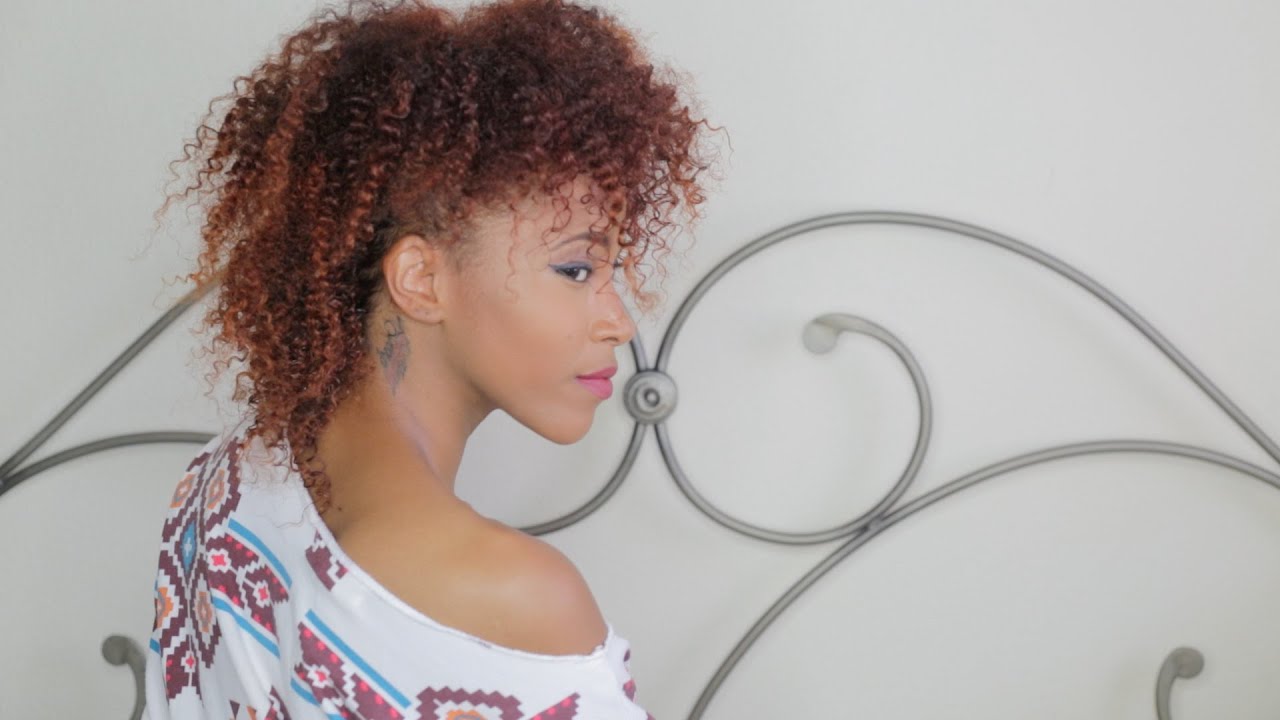
With more than ten years of experience, she specializes in balayage, hair care, color care, and photoshoot styling. Kelsey received her training from Brio Academy of Cosmetology and John Casablancas Modeling and Career Center. She also completed her apprenticeship with Warren Tricomi luxury salons. Try a flaxen or beige balayage if you have cool blonde hair. If you want to try the balayage technique with light, icy-toned blonde hair, go with a shade with no warm tones, like cool beige or flaxen.

Wash with the right product will help you stop your hair from getting dark or brassy. Use purple shampoo once a week if your hair is natural-blond in order to keep the best shade. Once you finish all the sections, refer to the L’Oréal Paris Colorista Ombré Bleach Kit for development time.
If you have coarse texture, each section should be about 1” apart from each other. The section you take on top of that will be your next painting section. With your comb, draw a straight, vertical line down the center of your part all the way to the back of your neck. Then, starting at the top of your left ear, draw a straight, horizontal line to the top of your right ear. With your 1st clip, combine the back two quadrants into one big section.
We also recommend having a friend or someone you trust help you through the process, especially if you anticipate having trouble completing the back of your head. For more tips and a step-by-step tutorial, read our article, How to Balayage Your Hair at Home. Luckily, this DIY Balayage technique can be reasonably effortless since it mimics natural highlighting. Use a hair mask, focusing on the ends of the hair, to moisturize your locks once a week. For parts that aren’t centered, create a horseshoe shape of sections.
Next, divide the hair into a second horseshoe shape from right below the temples. For center parts, try dividing the hair into three sections. With your hair completely dry, pull one section of your hair up and clip it securely. Don’t forget Vaseline, either – when this is applied to your hairline, it will help to prevent staining the skin. We’re talking about hair clips, a pair of gloves, and a towel.

Always read the safety instructions and follow the directions for use carefully. Do skin allergy test 48 hours before each application, even if you have already used coloring products. Backcomb the bottom few inches of each section of hair, using a comb to very gently tease strands upwards.


No comments:
Post a Comment